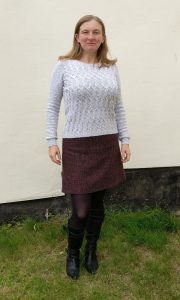
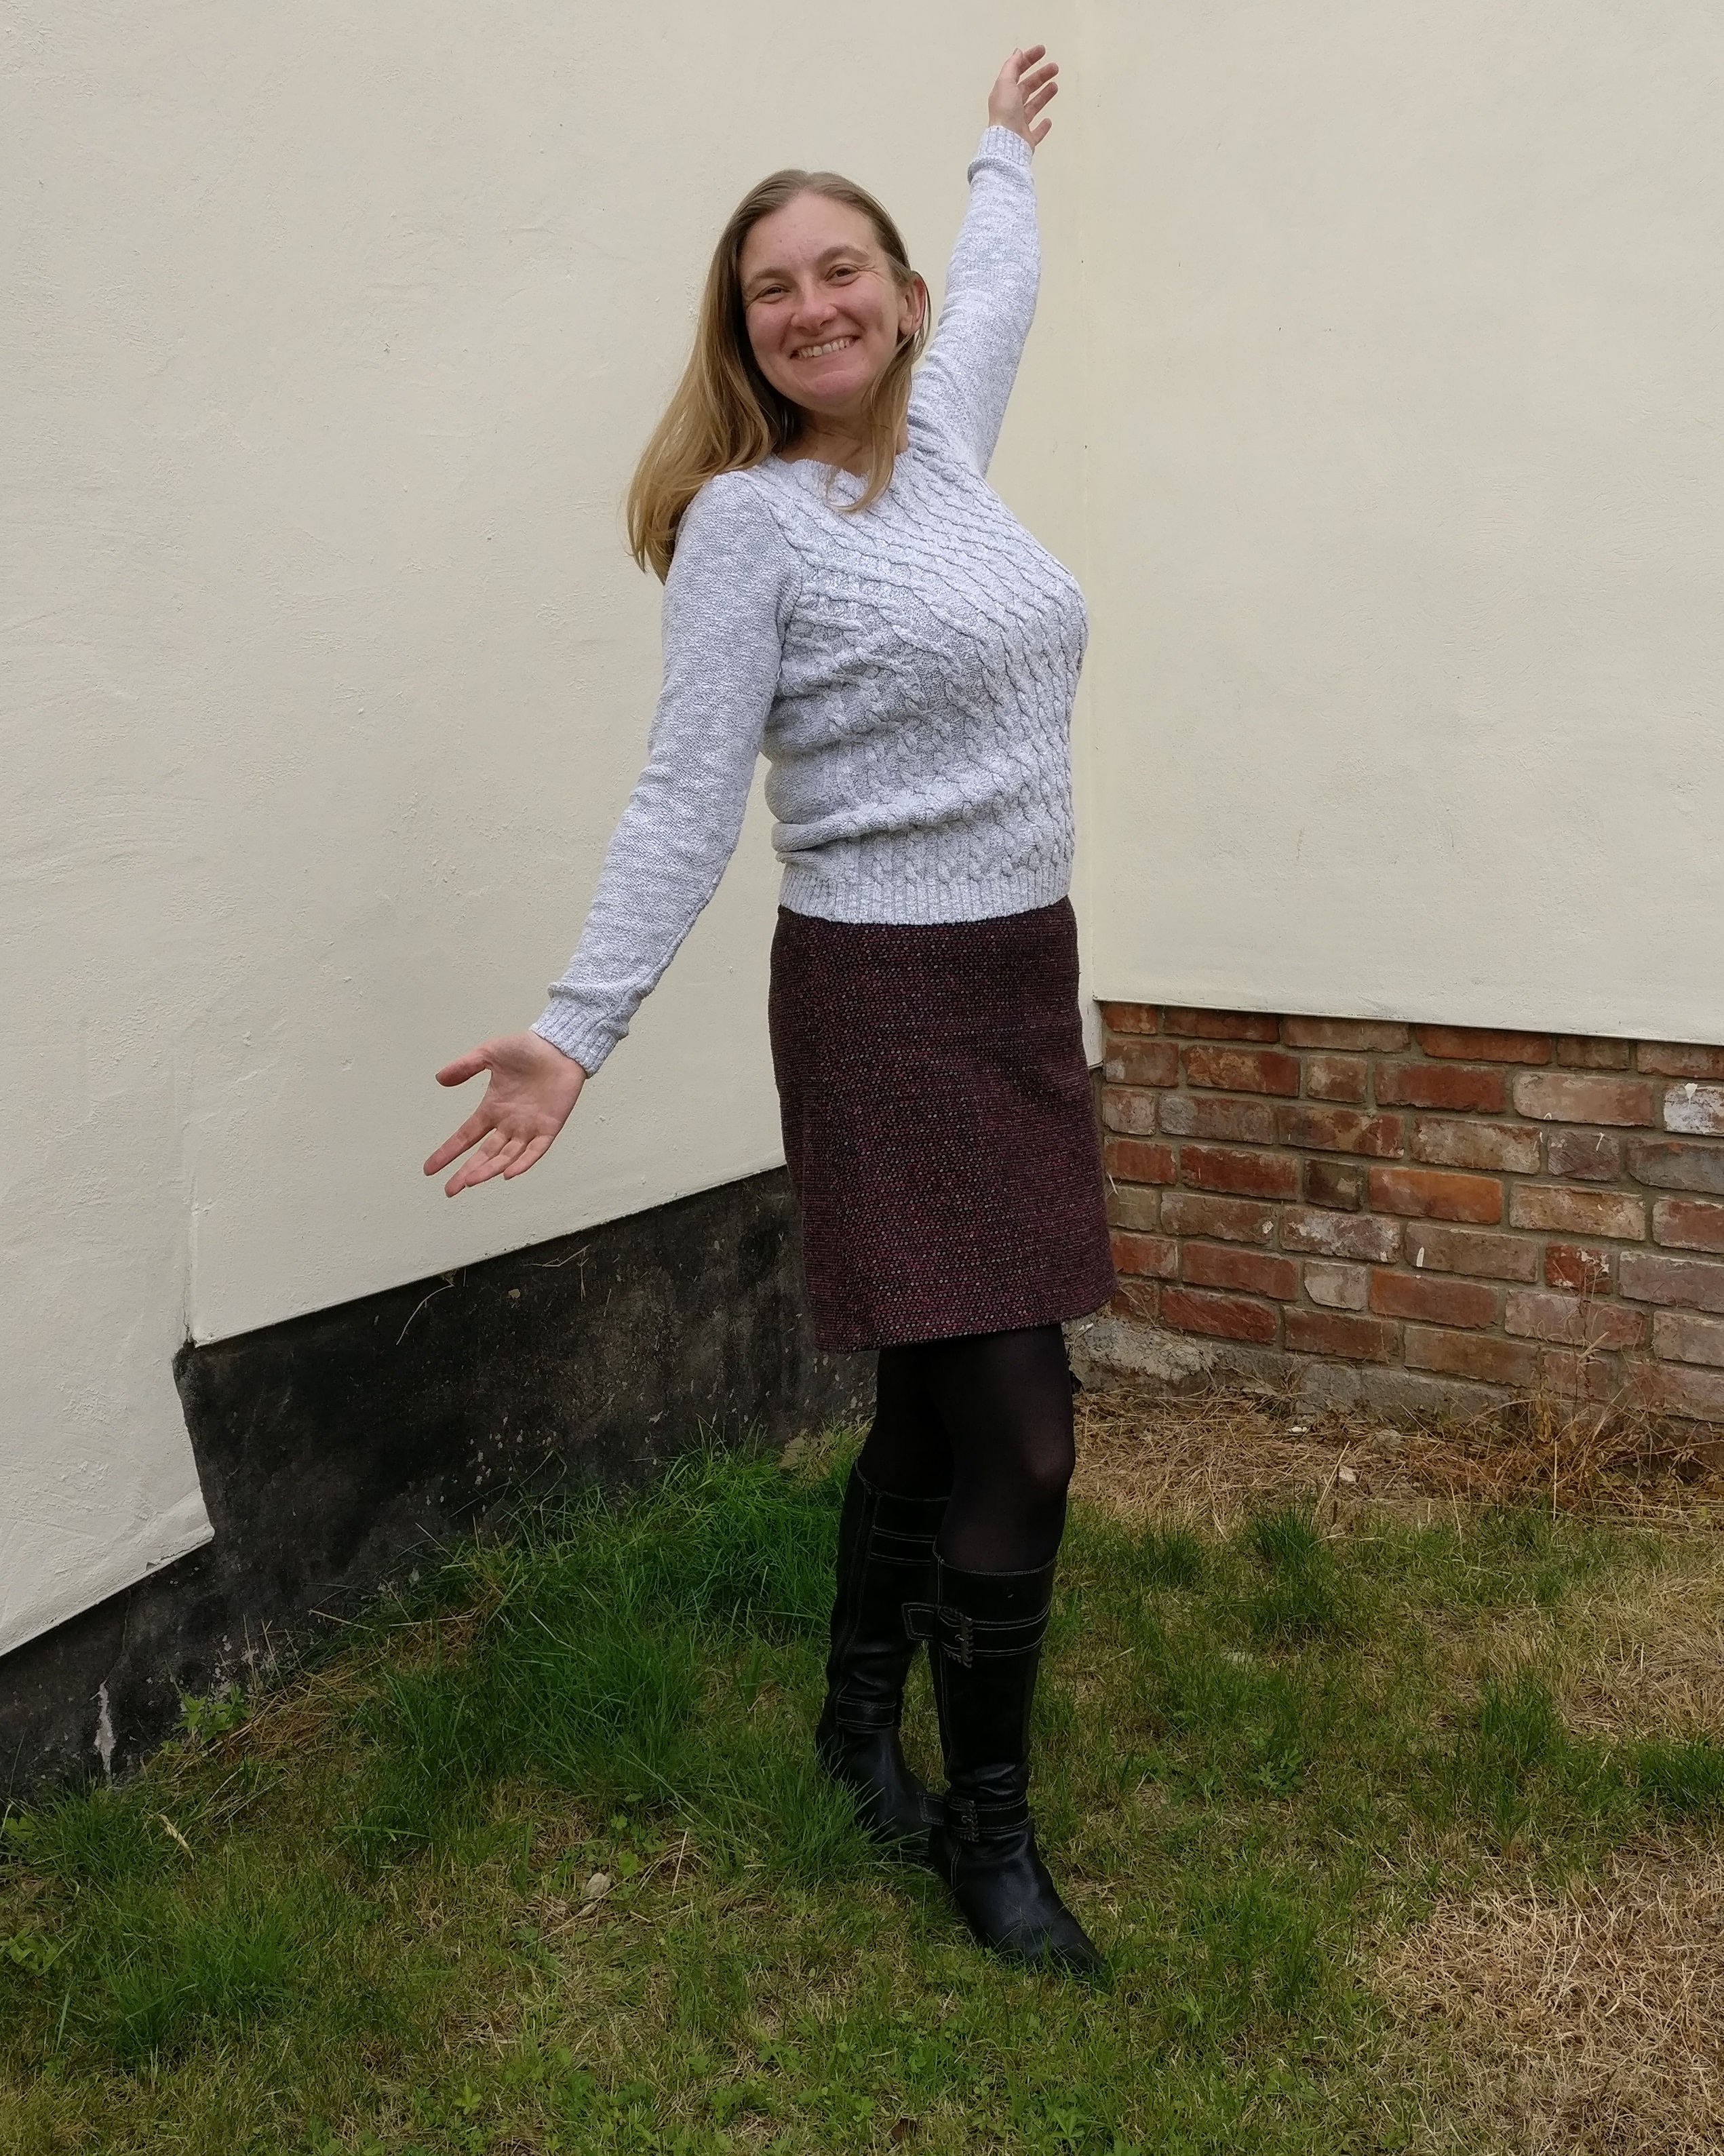
This is the first time I’ve made a pattern twice. I’m not sure why I’ve never done it before, I just haven’t, despite having some patterns that I’ve loved. (Does it have something to do with my childhood, where my parents would buy one of whatever in every colour? I can understand why, I’m notoriously picky about clothes in some ways, so to find something I like was probably a minor miracle which shouldn’t be wasted!) That, in itself, was enough of a novelty that I felt that this fulfilled my objective of something new with every make. I really wanted to learn from the mistakes that I had made the first time around and make a much better skirt the second time around, treating the purple as a wearable muslin.
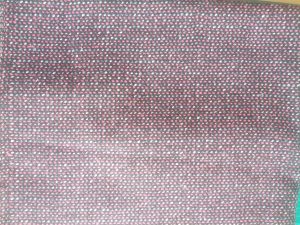
As I mentioned, I first fell in love with this material from SewOverIt, but I was a bit scared that the weave would be difficult as it was a bit loose – that wasn’t a problem at all. (I should probably say that this material is out of stock – unsurprising really as I bought it over a year ago!)
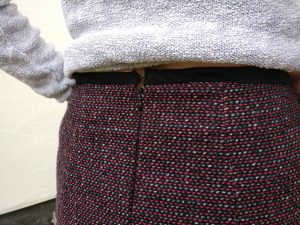
I prefer my skirts slightly longer than the purple one came out, and so I lengthened the pattern (my self-drafted version) by a couple of centimetres. When it came to construction, I fitted the zip before positioning the darts. I have a rather flat posterior, and I think this order worked better for getting a fit I am comfortable with as I’m currently fitting by feel, with helpful comments thrown in by him indoors as I don’t have a mannequin. The darts are slightly longer on this skirt, making the fit slightly tighter around the hips (hopefully not too tight).
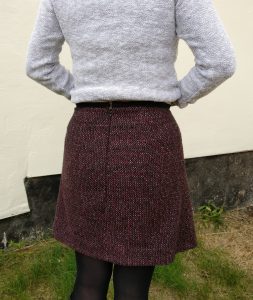
I have to be honest though, the fit isn’t perfect, as the side seams are both towards the back of the skirt and don’t hang straight (they move towards the front as you move down the skirt), but I’m not going to fix that, it works perfectly well as it is. I know I should have taken the skirt in slightly at the side seams before fitting the darts, but I didn’t, oh well.
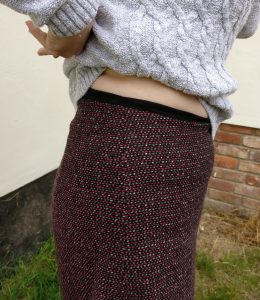
This time, the only pattern in the material I had to match was the horizontal stripes, and that proved somewhat tricky as the stripes are so thin any discrepancy is noticeable if you look closely (but fortunately not too obvious if you don’t!) I think I achieved my goal of an improved skirt – the binding is much tidier, the stitching in the ditch worked better, I still used my slightly off centre binding technique, and I think I will continue to do so in future. I will either find out that this is obvious to other sewers or that it’s completely bad practice for some reason or other, but until that day, I’m going to carry on using it for this sort of bound waistline / hem, as it worked really well! I also decided to follow the instructions this time around, and folded over the edges of the bias binding, which gave a much neater finish to the seam.
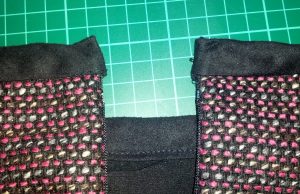
I still couldn’t work out how to finish the base of the invisible zip without using the double welting foot, but to be honest, I’m pleased with the finish, so I don’t really care!
Additionally, I used another new presser foot to line up the sewing around the hem of the lining. I used the adjustable blind hem foot. I’m pretty certain this is an unconventional use of this foot, but it worked really well, and as with the binding technique above, I’m going to carry on using it until I find out why I shouldn’t! It was much easier to line up the edge of the hem with the “fence” than it is to line it up with marks on the sewing machine plate, and as the “fence” is adjustable, I could tweak it to get an acceptable position.
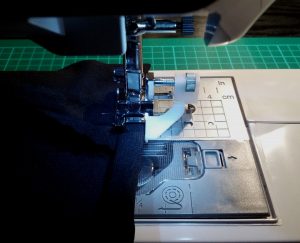
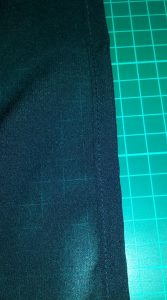
I’m now realising that feet can be used for multiple purposes, and you don’t have to use the foot recommended by the machine for each stitch. I am going to be more brave, and if the foot works for the application I want, and the needle doesn’t touch it when it goes down, then I’m going to use that foot, whatever it’s supposed to be used for. Hurrah for bravery!
