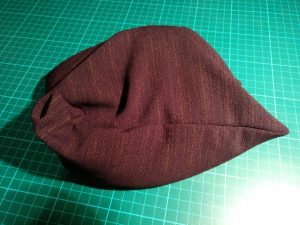
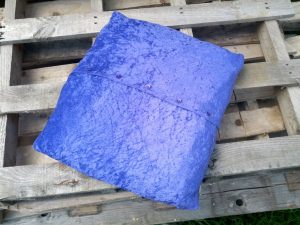
I don’t know about anyone else, but I’m not a fan of the cold weather. In fact I have rather bad circulation to the extent that I frequently wear socks in bed, even in summer. I therefore would find the wheat packs that you can buy rather useful. But much as this makes me sound like a skinflint, I begrudge paying ten of my hard earned pounds or more on what is a simple pocket of material filled with wheat – so I live with cold toes! That is, until last week, when I decided that after my machine had been fixed I needed to undertake some very simple straight sewing to try it out.
I decided that this was the perfect opportunity to make my very own warming pack. I have loads of scraps of material from various projects, and loads of left over bits of thread, so this cost me the price of 1kg economy rice – in other words, about 50p! I consider that a win 🙂
It feels somewhat grandiose to call this a tutorial as the project is so very straightforward, but I suppose this is a tutorial. So if anyone out there in internet land wants to make their own warming pack, here’s how you do it!
Firstly buy yourself (or take from the kitchen cupboard) 1Kg (about 2lbs) of rice. If you want you can use millet seeds, wheat or probably many other dried goods, but I used rice.
Secondly, cut yourself a rectangle of material about 50 cm (20 inches?) long, by about 23 cm (9 inches?) wide. I used pinking shears to cut the material, as I didn’t want to have to finish the edges in any other way to stop the material fraying. The material you use should have a tight weave (you don’t want any of your grains of rice escaping through the cloth!) and preferably a natural material so that it doesn’t melt if you overheat the rice in the microwave.
Once you have done that, fold it in half with right sides of the material together, and sew nearly all the way around the joined edges with a 1.5 cm seam allowance. Leave a gap of approximately 10 cm (4 inches) to allow you to pour rice into the pocket.
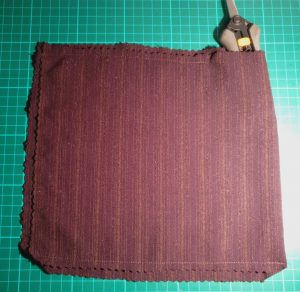
Following that, trim the corners of the pocket as this will allow you to get nice sharp points. (Literally cut a triangle of cloth off at the corners, being sure to not cut through the stitching!
The next stage is to turn the pocket the right way out – push the pocket through the hole.
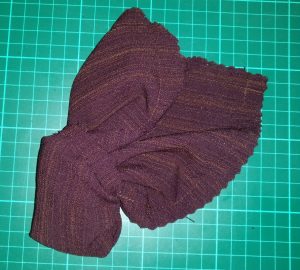
Then fill the pocket with rice. You can add dried lavender to the rice at this stage if you would like, to give a lovely scent. I didn’t do this, and just for a short moment when you heat mine up it smells ever so slightly of home made rice pudding :-).
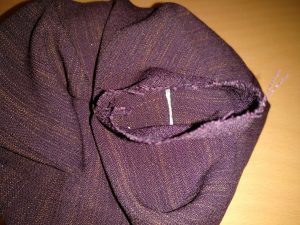
The next stage is to fold in the seam allowances on the hole of the pocket and hand stitch it closed. When you do this be sure to use small stitches – you really don’t want the rice to come out. In fact when I had finished, I gave my rice pack a good shaking, and threw it up in the air several times to make sure no rice came out! I don’t know what the stitch I used is called, but my mum taught it to me as a way of binding two edges together where you don’t have overlapping fabric. You put the needle in to the inside of the seam allowance on one side, bring it out at the top of that side, then put it in at the bottom (by the rice) of the other side of the pocket and then bring the needle out at the top. The thread basically makes a figure of eight repeatedly, working it’s way along the hole to seal it up.
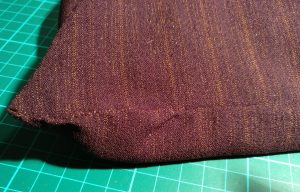
All in all, I love my rice-pack; this post was written about a month ago, but due to website issues I wasn’t able to publish it until now. That does mean, however, that I have had a month to test my rice pack, and I love it – I have used it every night since it was made, and it is so nice to walk home in the cold knowing that just two minutes after I arrive home I can have a lovely warm rice pack on my cold toes!
