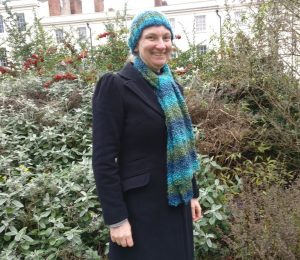
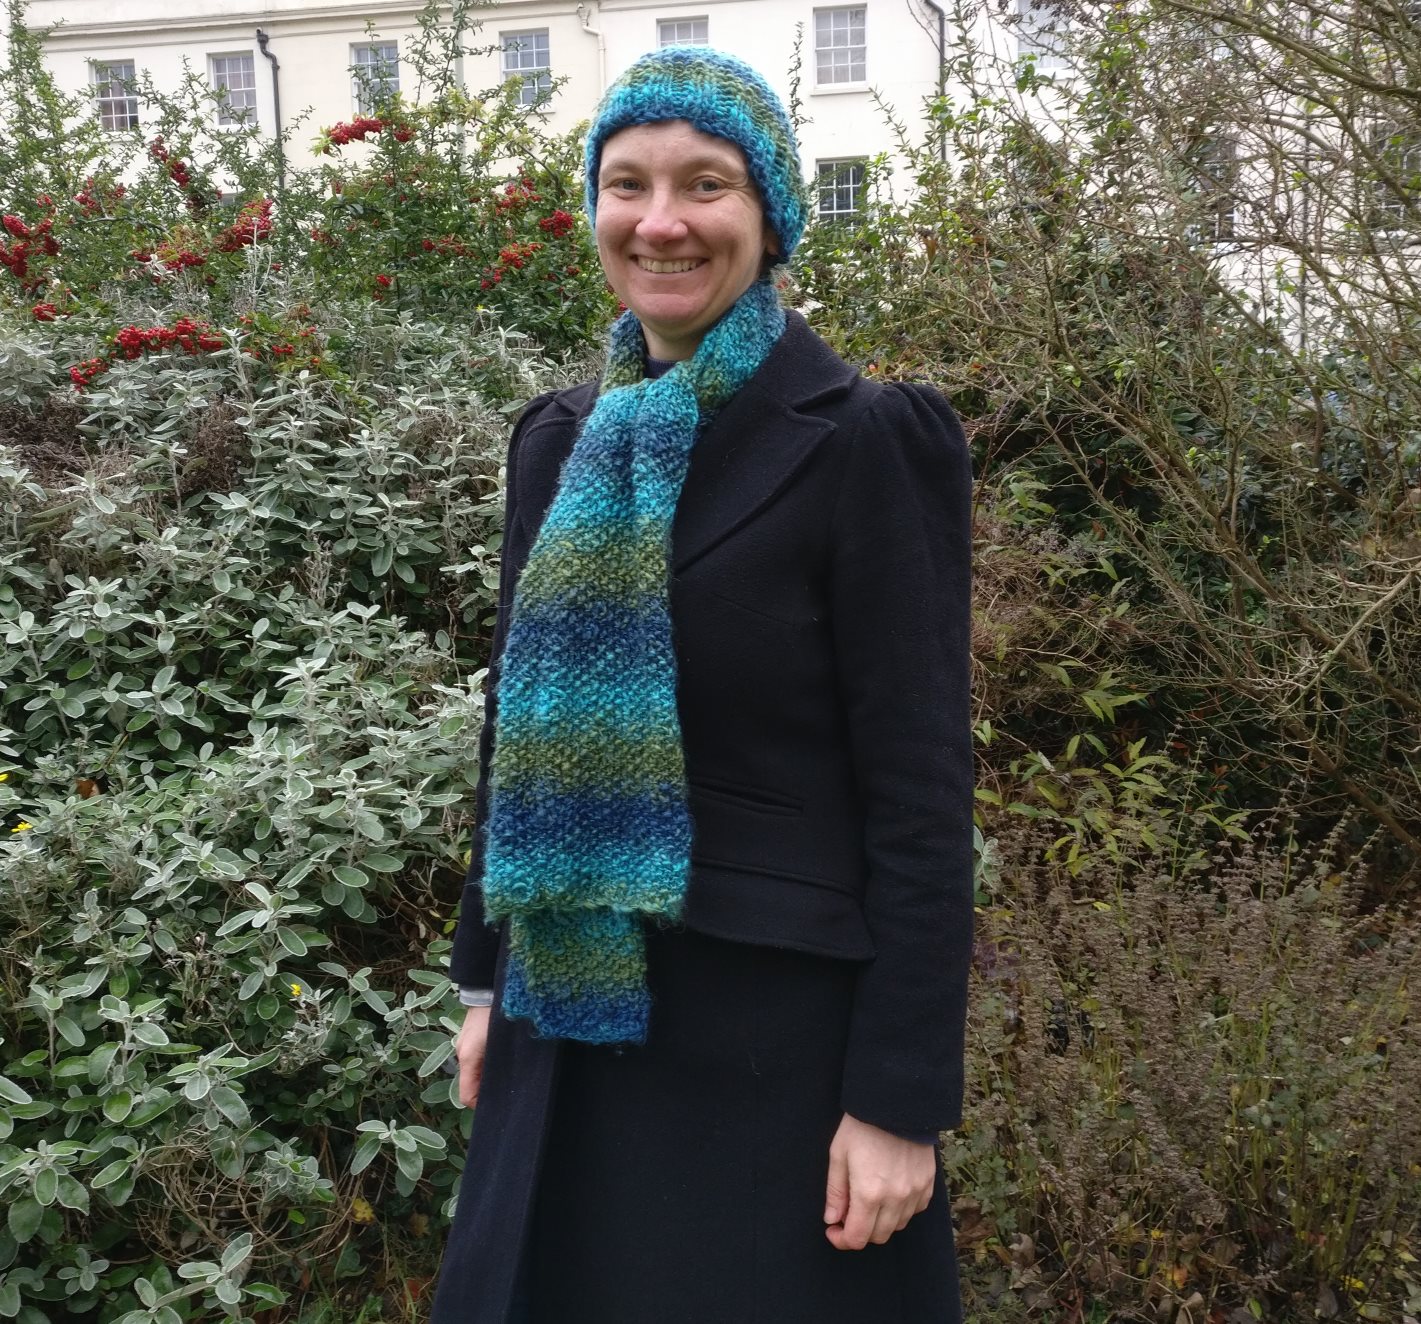
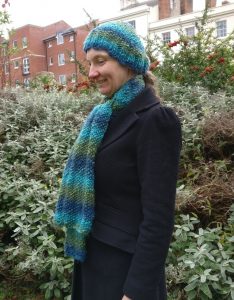
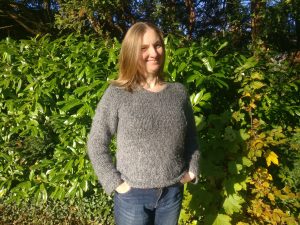
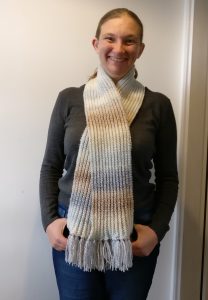
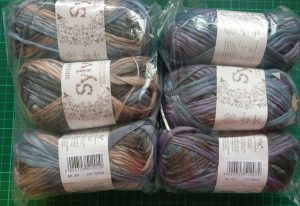
I don’t think it’s a secret that I’m not an expert at knitting, but I do find it relaxing to do on a train on the way home from a long day at work. I bought a load of wool about a year ago and made scarves with the Sirdar Sylvan, finishing up the third scarf from this wool in August this year. Since August though, I’ve been wondering what to do with the remainder of the wool (two balls of each colour – I overbought because I didn’t really have a clue how much I would need). I started looking for a hat pattern, but couldn’t find any that had the same stitch, or used similar wool to this, so I ended up making it up as I went along.
I didn’t have any circular needles, or any double pointed needles, so I decided to take a sewing approach to making a hat and just knit a piece of fabric in sort of the right shape, and then stitch it together. I realised that I wanted some form of ribbing around the base of the hat, but I wasn’t sure how much the ribbing would contract / expand with wear. I measured the circumference of my head, and then cast on a load of stitches (180 if I remember correctly). I then did about 8 rows of ribbing to see how tight it was. Well, it turned out that it was well over twice the size I actually need (although I know I have a small head…I can wear hats from Christmas Crackers like a necklace with no worry about them ripping!) At this point, I realised that I needed to unravel what I had already knitted, but I was able to use that first try to determine that I needed 76 stitches (I wanted a number that divided by 4 as I planned to do knit two, purl two for the ribbing).
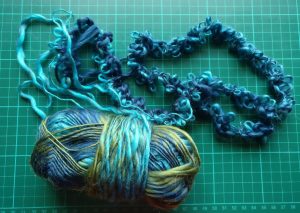
So after casting on 76 stitches I proceeded to knit approximately 6 cm of ribbing up from the base of the hat. I then transferred to what is either seed stitch or moss stitch I think – knit one, purl one, with alternating stitches on each row (this is what I used for the scarf, and I love the bumpy, pebbly texture it gives with the thick and thin yarn).
This is the first time I’ve decreased stitches in knitting, and I wasn’t quite sure how to do it so that I would end up with a vaguely sensibly shaped hat. I decided that I needed to do a few rows without decreasing initially as the circumference of a head doesn’t decrease that rapidly. After about six rows I started decreasing stitches – four decreases per row, equally spaced along the row. I didn’t decrease at every row though. I started off decreasing every other row, but then I realised that I was developing a bit of a strange shape because all the decreases were taking place at the same end of the piece. I also didn’t want to decrease too rapidly and end up with a hat that was too short! I basically reduced the frequency of rows where I decreased when I thought the hat was going to be too short, and increased the frequency when I thought it was going to be too big. In other words, it’s not exactly a scientific method, or reproducible.
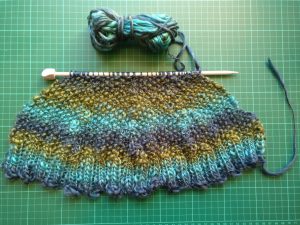
After I had finished making my weird triangle shape, I cast off the final two stitches, cut the wool leaving a very (very) long tail to use to stitch the two sides of the piece together. The picture below shows the hat stitched together – showing the wrong side of the seam. It’s virtually invisible (in fact now I am wearing it, I struggle to find the seam).
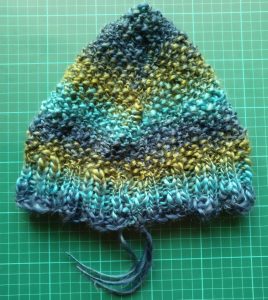
At this point, all that was left was to tie the two ends together, and then weave them into the hat to hide them. I cannot exaggerate how pleased and excited I am that I have made a hat and I’m really glad I just dived in to try – unlike sewing I knew I could get the raw materials back to their original state if it all went wrong, so that really helped me to just give it a go, but hopefully it’s a lesson I can take forward. Now I’ve just got to get on and make hats for the other two colourways…I can’t wait 🙂
