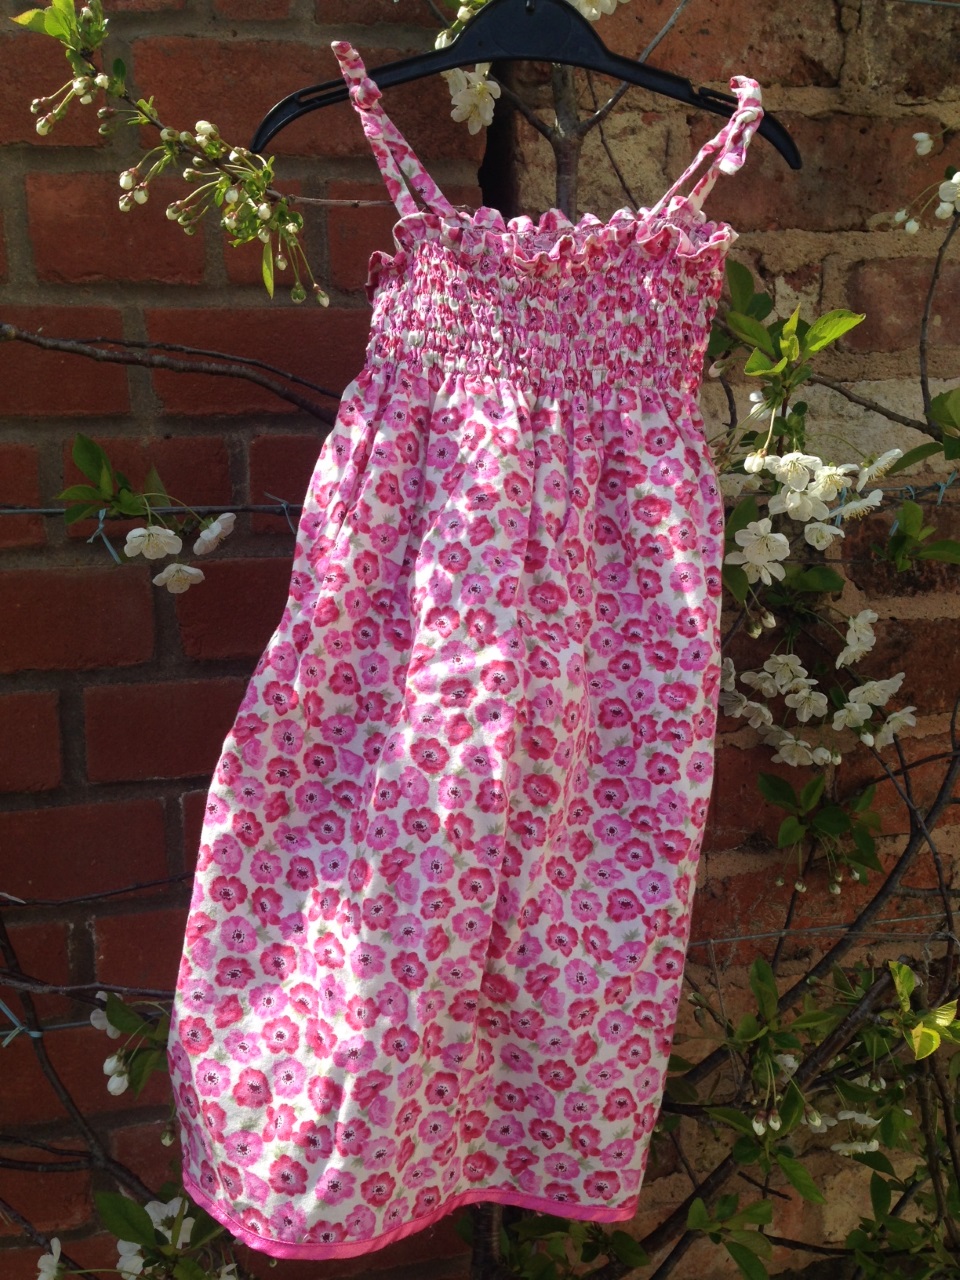
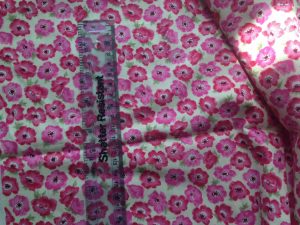
My daughter is now aware that I can sew things, and she loves to watch it happen. For the first time the other day I took her to a fabric shop to choose some material for a new dress. She chose, unsurprisingly, this pink flowery cotton by Rose & Hubble.
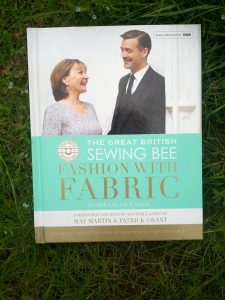
I had decided that I was going to make the Girls Shirred Dress from the Great British Sewing Bee Fashion with Fabric book.
I have never done shirring before, and I’ve never made something without a pattern before, so this met my novelty challenge in two ways.
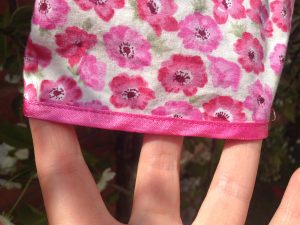
So, how did it go? Well, cutting out the rectangles for the dress wasn’t difficult; I simply carried out the calculation, based on her chest size, and went from there. I did, however, manage to mess up the length a bit. Maybe I changed my mind about how long I like my daughters dresses to be, as I found the final dress length to be shorter than I anticipated. That was easily solved, however, by using a length of bright pink satin bias binding, so instead of turning up the raw edge, I encased it using the bias binding. I didn’t try any stitching in the ditch, or anything, I literally topstitched around the edge of the binding.
I did find the straps rather more difficult. I have used the safety pin idea before, and although it’s not complex, it’s definitely fiddly, so instead, I decided to use a technique I saw a while back in which you sew a length of string into the straps (sewing the rectangle right side together, catching the “head” of the string, leaving the tail of the string in between the folded edge, and the sewed seam poking out of the end of the rectangle). This did work well, apart from one thing – I’m not sure how to extract the string and make a tidy job of the sewed end.
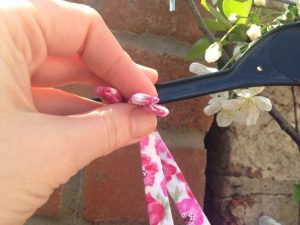
This is the best I could do, so any suggestions appreciated! To be honest, although it’s not complex, I would probably use lengths of ribbon rather than the fabric tubes instead next time.
As for the shirring itself, I’m not sure whether it’s my machine, or the material, or my technique, or something else, but I did find that to use the shirring elastic in the bobbin I needed to ensure it was pretty much at full tension, which is contrary to the instructions. Any other way of doing it lead to very messy, not very tight shirring. Once I had discovered this though, I was well away. The material didn’t have a horizontal stripe, so I ensured that the previous run of shirring elastic stayed in the same position relative to the presser foot on my machine. This worked really well, and at the end, the shirring lined up on both side seams of the dress. Woohoo!
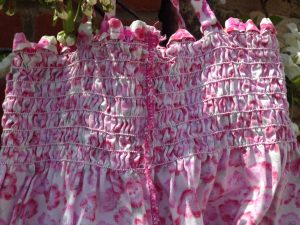
My daughter loves this dress, but she doesn’t really like the feel of the shirring on her skin, or the frilly top hem on her underarms. She now wears it over a tee-shirt, but I don’t mind; she’s wearing it, and given that it will grow with her to be a top or skirt I love it (even if it is bright pink!)
