Well, as I said, my sewing machine wasn’t functioning quite as it should have been. I managed to speak to a very helpful engineer at the manufacturers, who talked me through how to diagnose and then fix the problem, all for the cost of a 20 minute phone call. It’s only when you realise that your sewing machine isn’t working properly that you realise how much it means to you – I had visions of it costing a lot to get fixed, then having to make the decision of whether to buy a new machine or suck up the repair cost. What a relief to find that I didn’t need to make that decision.
So, as I couldn’t find the fault that my machine had anywhere online, here is the process that I was talked through to diagnose and fix the problem, just in case it proves helpful to anyone else.
The first port of call whenever you notice a fault with any machine should be a good cleanout – we sewists use our machines regularly, but how frequently do we actually stop and give them a good clean? Probably not frequently enough – I give mine a quick clean after every project, but I don’t tend to do anything more than that on a regular basis.
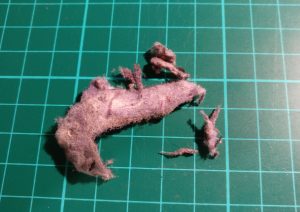
Secondly, check the thread – is it good quality or does it have lots of knots in it?
Thirdly, check the needle – is it bent? Is it fully home in the socket? Is it secure?
These three issues are probably the cause of most sewing machine issues – and it would be frustrating to pay for a repair, when all that was needed was a new needle, or a good clean!
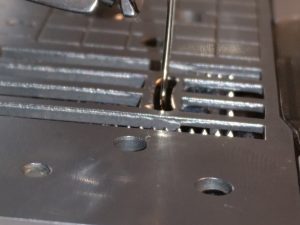
After that, it’s a case of checking the timing – for my machine it was a case of ensuring that the needle and bobbin case were in the right positions relative to each other – this is probably something that is machine specific, so I would always advise speaking to a service engineer! If it helps, I think the timing on my machine is good, but here is a picture of the needle and outer bobbin case with the needle at the lowest point. You can see that the needle is aligned nicely with the centre of the slot at the bottom of the outer bobbin case. This indicates that things are running as they should with my machine, but please don’t assume it’s the same for your machine.

After all of those checks it was agreed that the issue was that the needle and foot unit was too far back on my machine. This was what I had thought, but I wasn’t sure whether it was the needleplate and bobbin case that were too far forward, or the needle too far back. More to the point, I had no idea how to fix this issue!
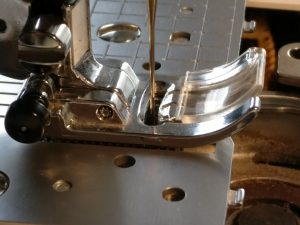
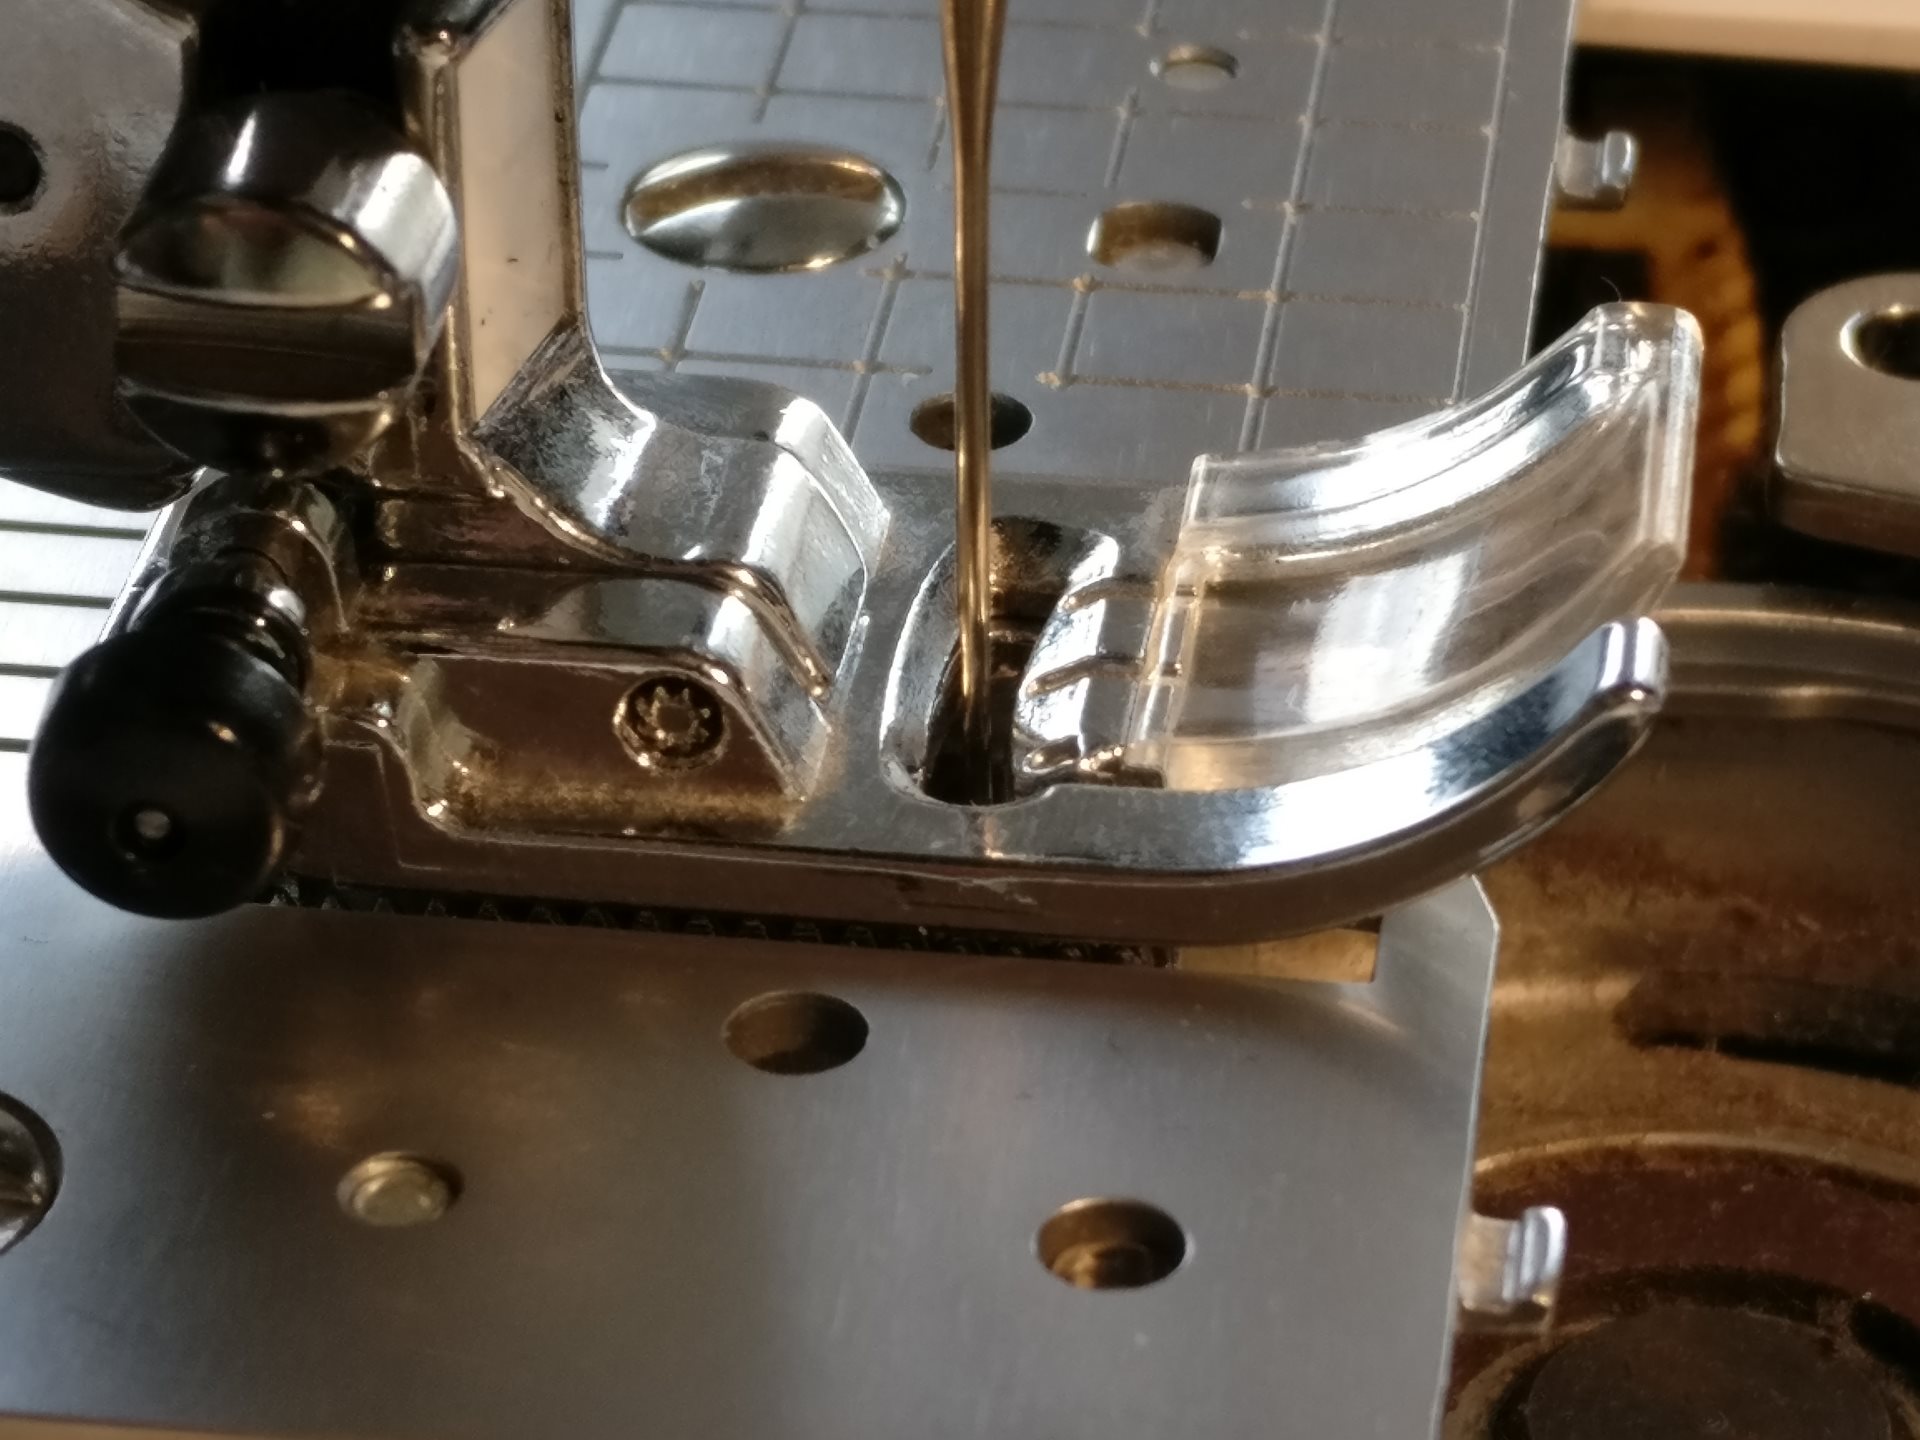
The way we used to determine whether this was the problem was beautifully simple. The engineer asked me to put the standard presser foot onto the machine. He then asked whether the slot in the foot lined up with the slot in the needle plate.
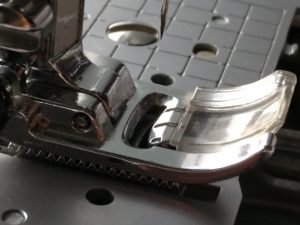
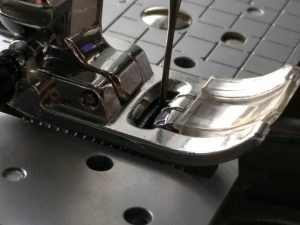
As you can hopefully see in the picture, the needle is nicely centred in the foot, but the slot in the foot is set back relative to the slot in the needle plate. Right here, this is the issue with my machine.
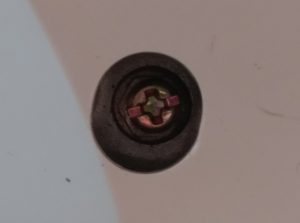
So what did I have to do to rectify this? It was a simple matter of taking the white cover off the screw in the back of the machine, and then unscrew the cross-head screw very slightly, and then loosen or tighten the nut underneath in order to push the needle and foot arrangement ever so slightly forward. In the picture above you can see a cross-head screw on a hex nut. The cross-head screw keeps the nut in position, and it is the nut which is a grub screw that pushes on the needle and presser foot component.
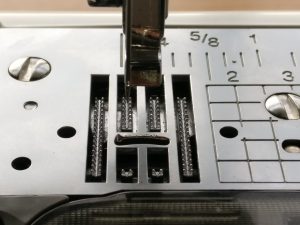
Don’t over turn the nut – this is a very small adjustment! If you do over turn the nut, then just turn it back again. Once the needle is centred in the slot on the needle plate, tighten the screw, replace the white cover, and you’re good to go. That said, before you start sewing again make sure that tightening the screw hasn’t shifted the nut (and therefore the needle position) and also make sure that the screw is tight – I’m no expert, but it strikes me that you really don’t want this moving while you’re sewing!
