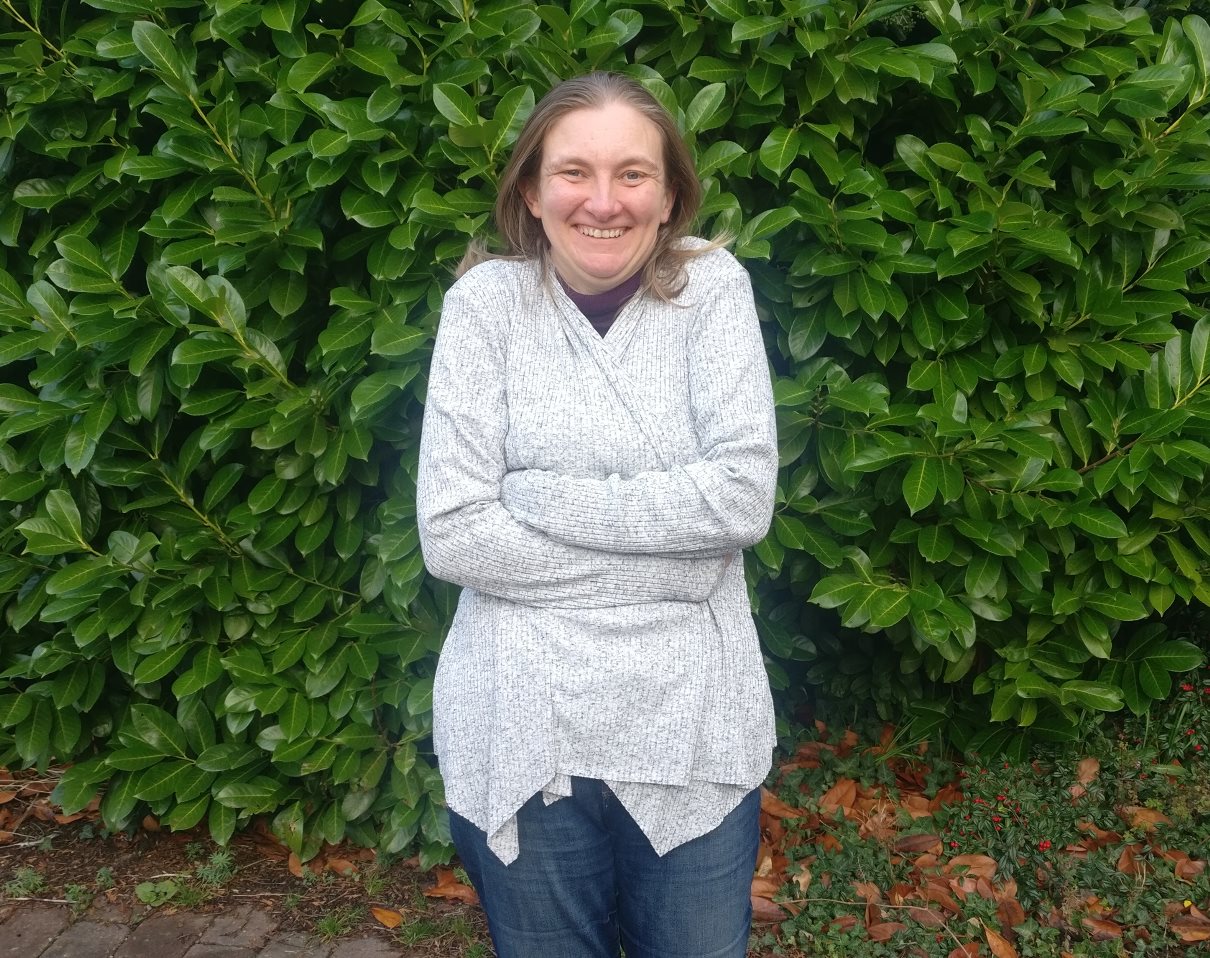
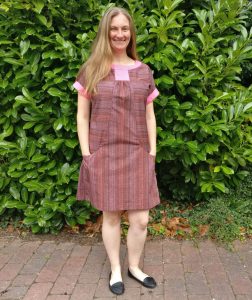
Early last year I was experimenting with sewing knits. I was placing an order at Minerva Crafts and saw this rib knit and just knew I had to have it and it would make a lovely cardigan or jumper. Unfortunately it then sat in my stash for ages until about a month ago when I bought an overlocker on impulse from Lidl – I’ve been debating buying one for ages, and didn’t really want to buy an expensive one until I knew whether I would use it or not. I decided that I needed a pattern that didn’t need to be particularly well fitting in order to give the overlocker a fair try – enter this fabric and the free scarf neck cardigan pattern from Swoon Patterns.
I thought I had loads of this fabric, having just over 2 m, but when it came to laying out the pattern pieces I realised I had nowhere near enough. I did a quick tissue fit and decided that I could happily take 3 cm off the length of each piece, especially as the fabric doesn’t fray at all and so I’d decided not to bother hemming it – I don’t really like the bulk or the weight it would add, particularly as this isn’t a really lightweight knit. In addition, I wanted to remove a fair amount of the scarf. Although this is the feature that gives the cardigan it’s name, I didn’t want to have so much around my neck that it would be bulky. In order to fit the pattern pieces on the fabric I took 7 cm off the scarf – but don’t forget that as I wasn’t hemming it, this isn’t quite so much as it sounds. I could have left a bit more on, but again, I didn’t want the bulk.
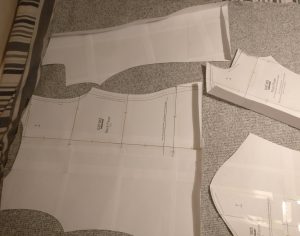
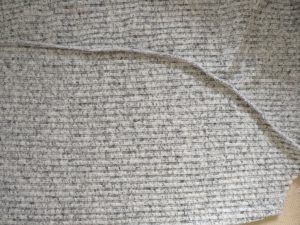
Laying out the pattern pieces – note how close to the edge the pieces had to be!
I cut out the fabric on a single layer as I didn’t want it shifting around, and additionally because of the difficulty fitting the pieces all on to the fabric I didn’t have the luxury of cutting on the fold. It doesn’t help that the fabric has a right and wrong side (although it’s only the width of the rib, so it doesn’t matter which you choose) and also I was concerned that being a knit I needed to keep the top of all the pattern pieces at the same end of the fabric. Cutting the pattern pieces went rather quickly as there are no pattern markings to worry about, so once the piece is cut you can move straight on to the next piece. The only thing I found confusing is that the crossgrain is marked on the pattern, not the grain. This isn’t a problem per se but it is different to every other pattern I have used, so I am surprised and pleased that i didn’t make a mistake!
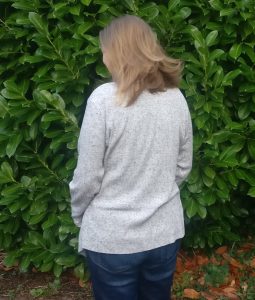
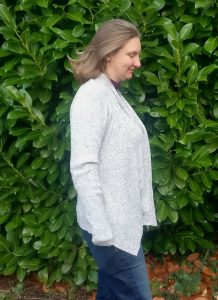
I was really pleased how well drafted the pattern was, and all the seams fitted together perfectly. I didn’t really bother with the instructions apart from the seam allowance (1 cm) and attaching the front to the back (slightly unusual because of the scarf). Personally I think the sleeves are a bit too long – I cut off 3 cm from the length, and when I’m positive I won’t be hemming them, I’ll probably trim off another 4 – 5 cm. I also took 4 cm off the width of the cuff, tapering to nothing at the bicep. This is a perfect width for me, but I do have relatively small wrists, and also an aversion to wide sleeves! You can just about see in the picture below that there’s no flappy sleeves, and you can also see quite how long they are, even after removing some of the length.

Sewing this on the overlocker was so straightforward and incredibly quick. It has really helped to boost my confidence. I was slightly concerned that I wouldn’t be able to navigate the curve of the princess seams, but I am really pleased with how they came out.

Let’s just say that I won’t be buying any more cardigans – I work in a fairly informal setting, so a cardigan thrown over a dress is really useful and the mainstay of my work wardrobe. I am now on the lookout for more fabric to make all the cardigans in all the colours 🙂
